
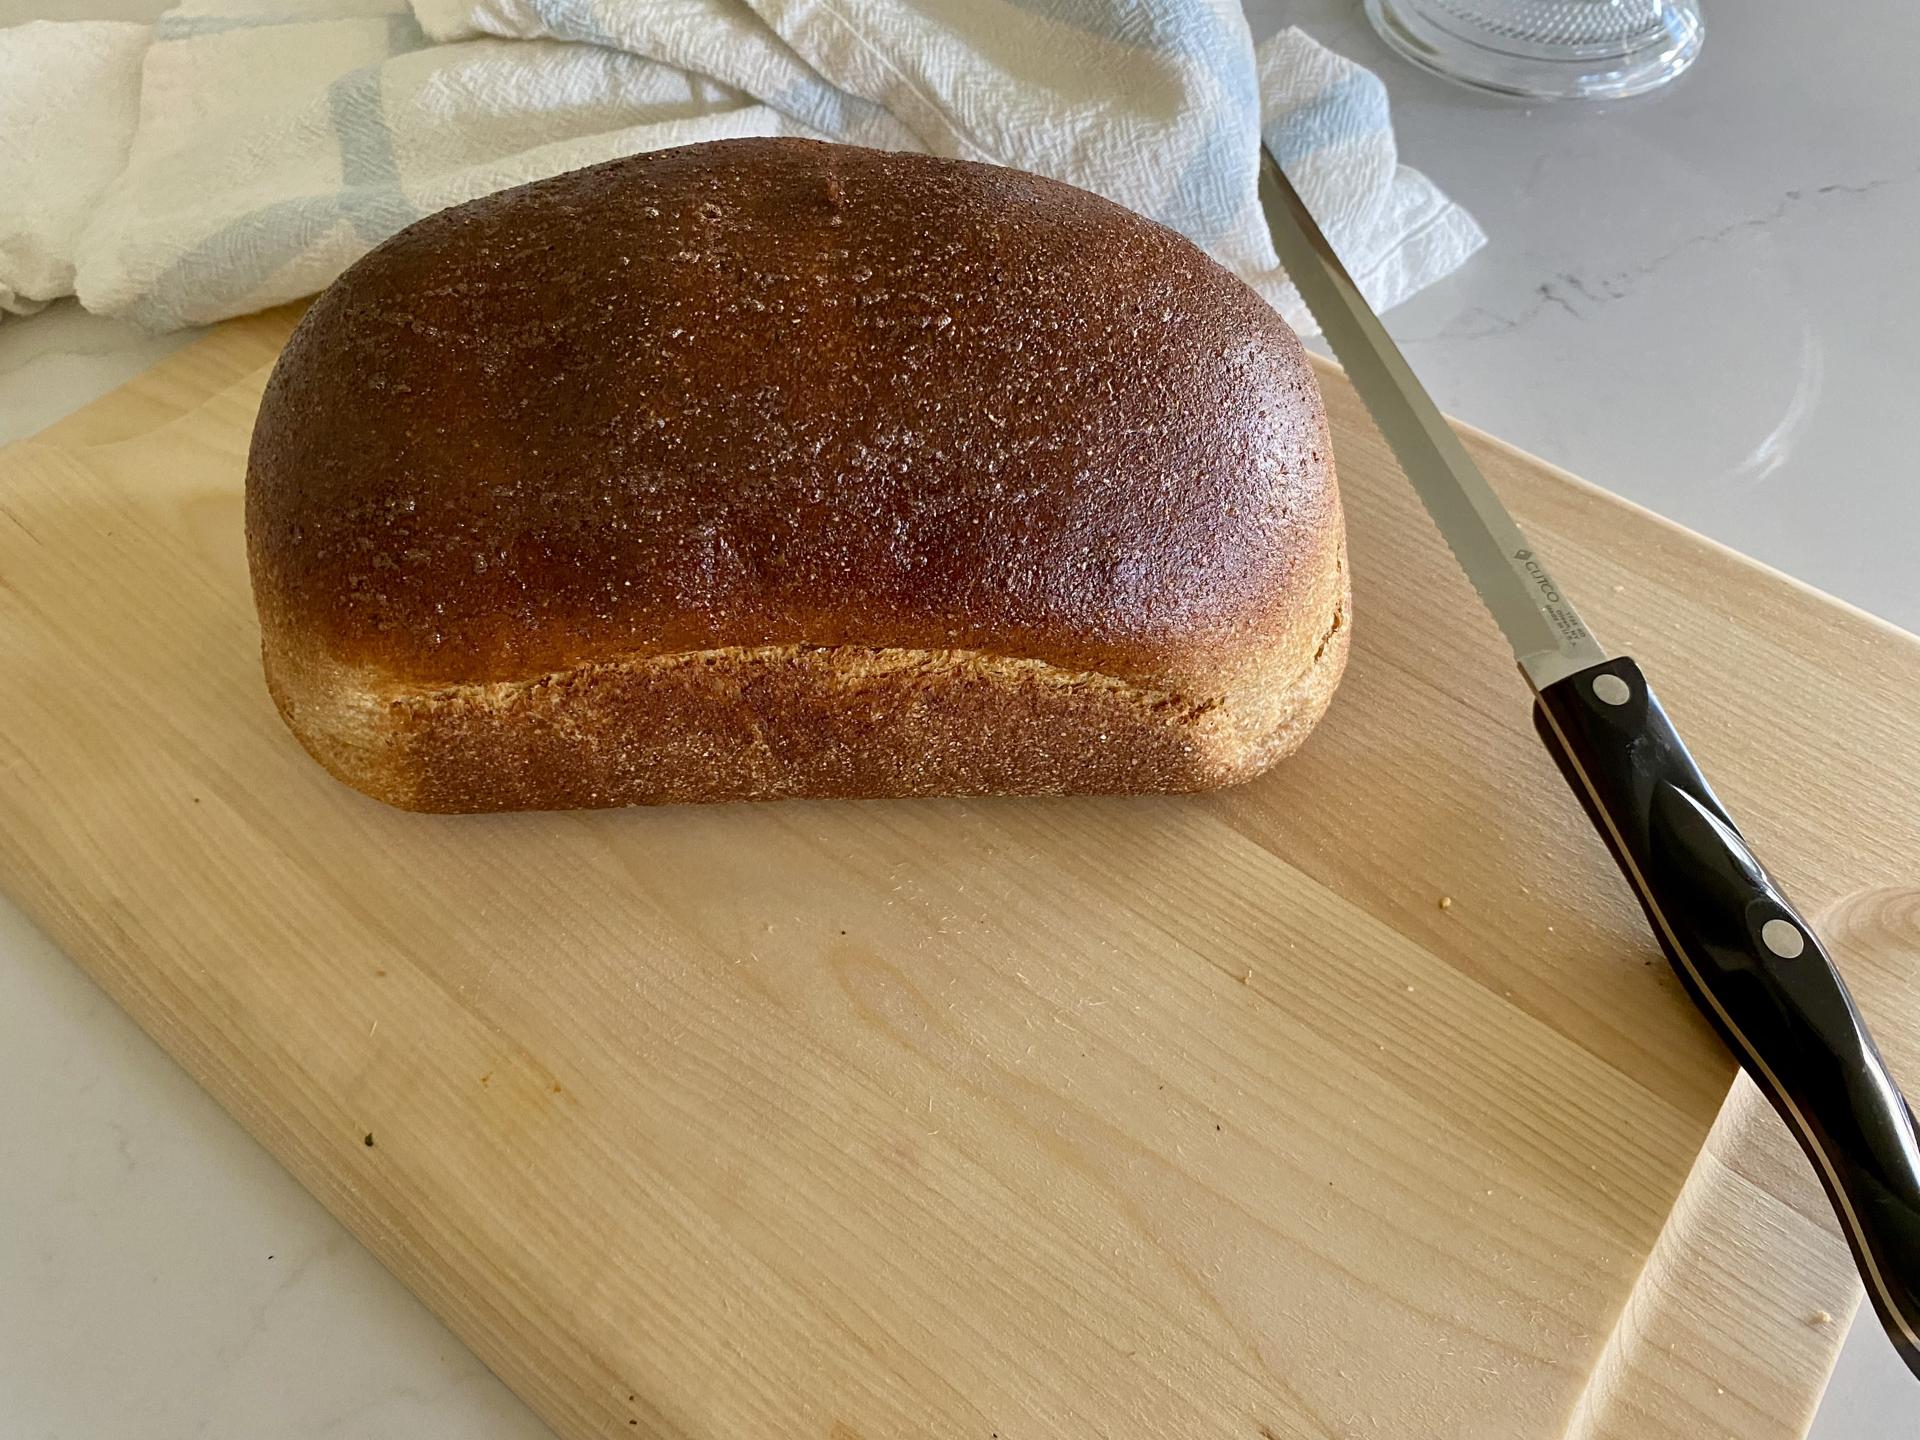
This soft and fluffy seed-oil-free sandwich bread will make you forget store bought bread! You’ll love it because this recipe makes the softest and most delicious bread–the extra effort is totally worth it!
This post contains affiliate links. If you use these links to buy something I may earn a small commission. See my full disclosure here.
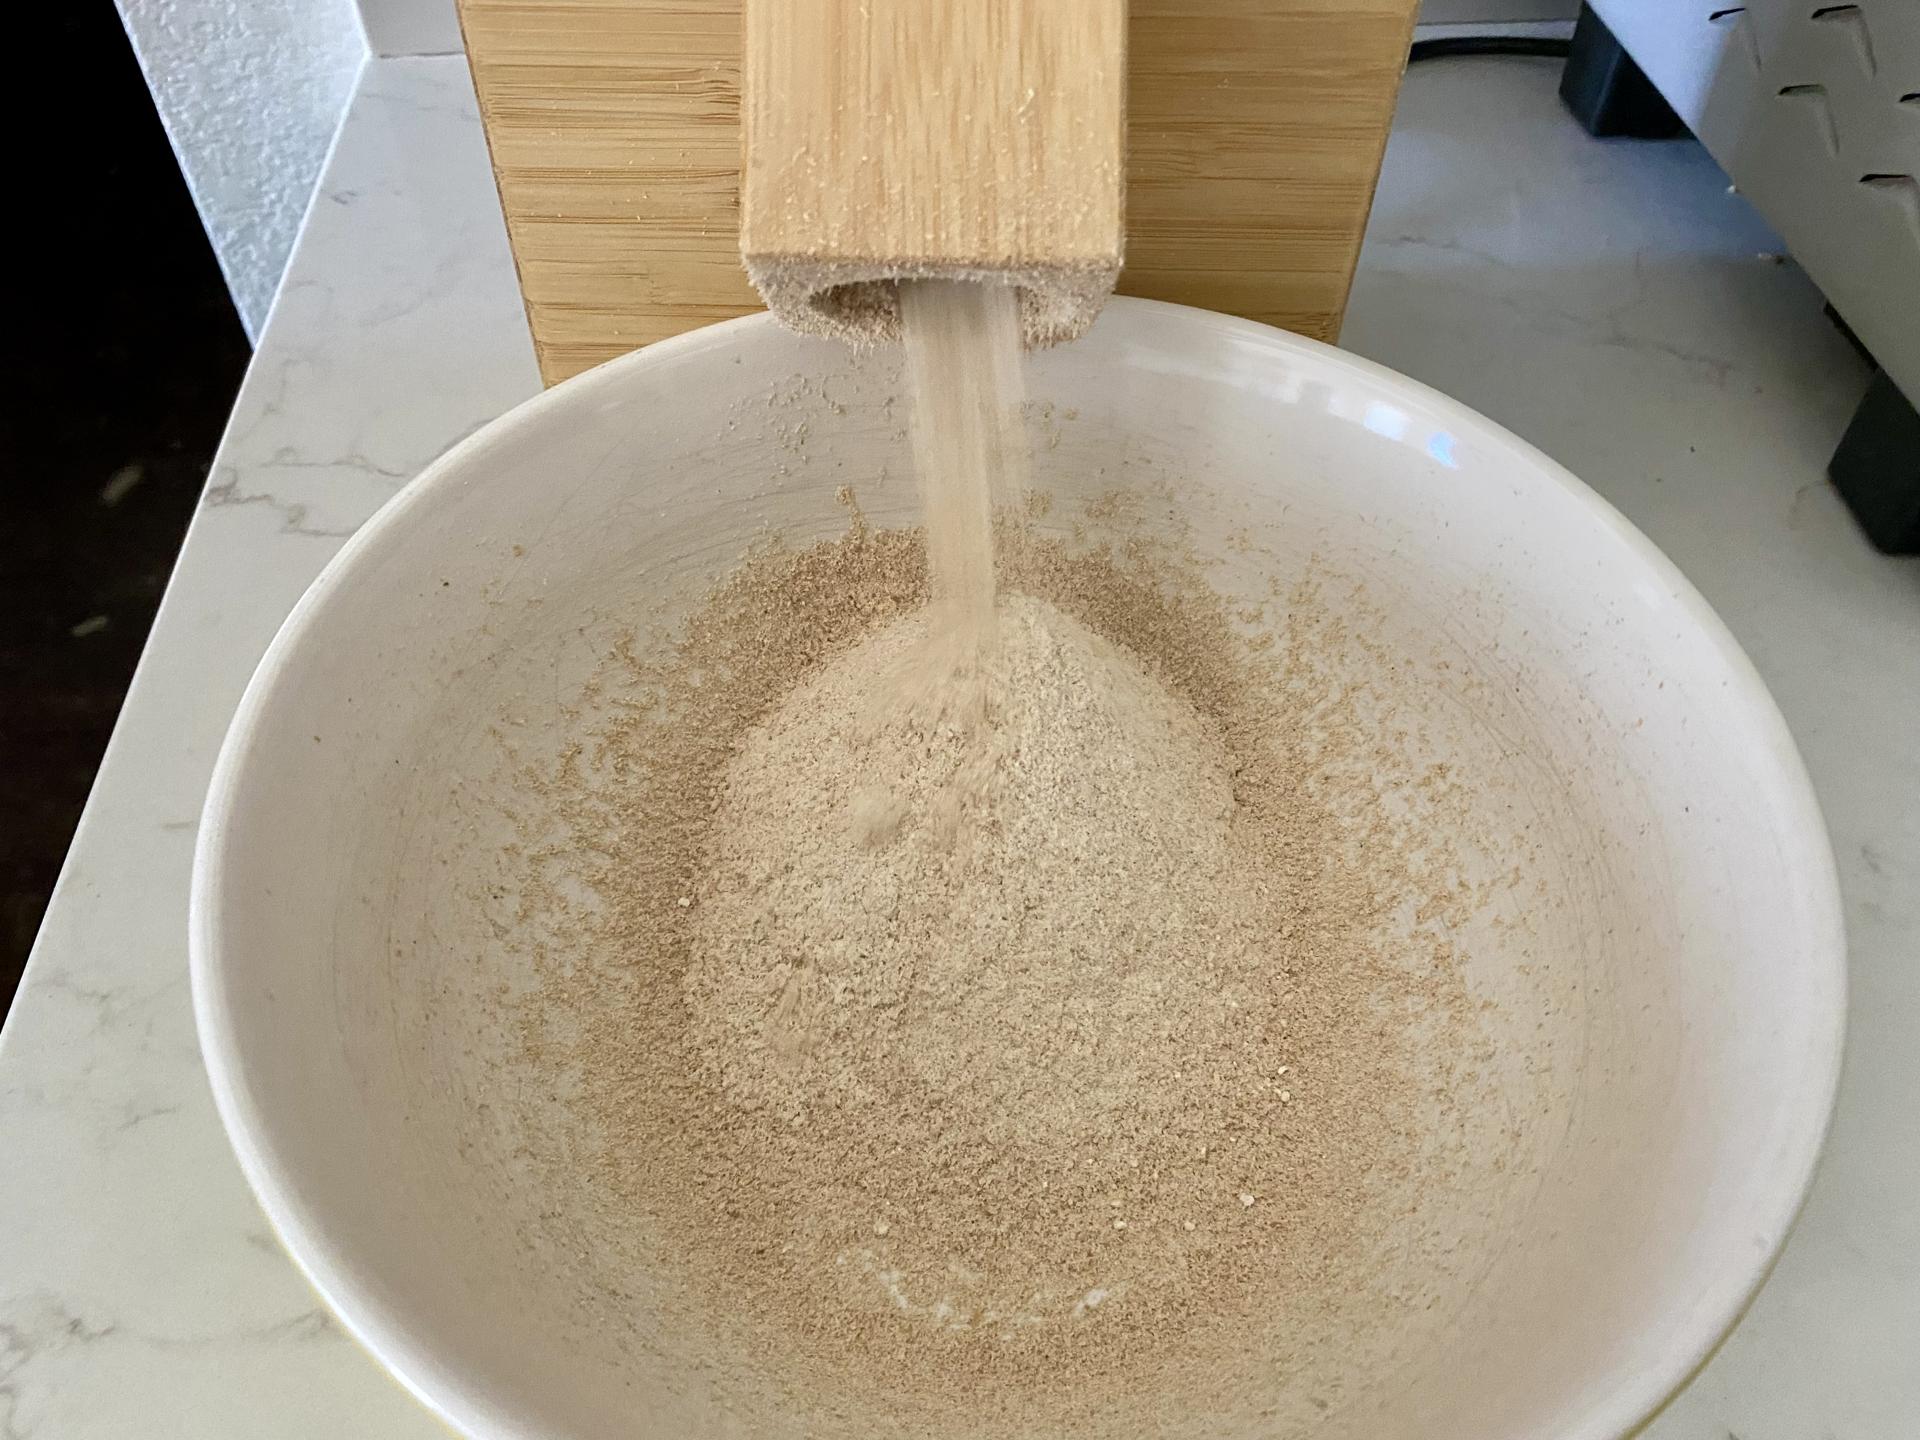
My family generally tries to avoid seed oils and most-store bought bread products contain some version of seed oil, so I started making all my bread products at home. Because I was already on a hunt to resolve some health issues, I also went on a hunt to figure out the healthiest flour to use. Turns out the only way to get the incredible nutritional benefit of whole grains (wheat contains 40 of the 44 essential nutrients our bodies need to survive) is to mill your flour at home (if you want to learn more about milling your own flour check out this post). If milling your own flour isn’t something you’ve looked into yet, I highly recommend it!
This dough I use to make this bread is amazing because of how versatile it is. When I started making my own bread products I was overwhelmed to say the least. Going from buying everything premade from the store to having to plan hours ahead of time to get a meal on the table was a bit of a challenge. One of the things I did to make the transition into making all of my own bread products less intimidating was using the same recipe for virtually all my bread products. This sandwich bread follows that same trend. If you want get an idea of the other bread products I make with this dough (and how to shape them) check out this post.
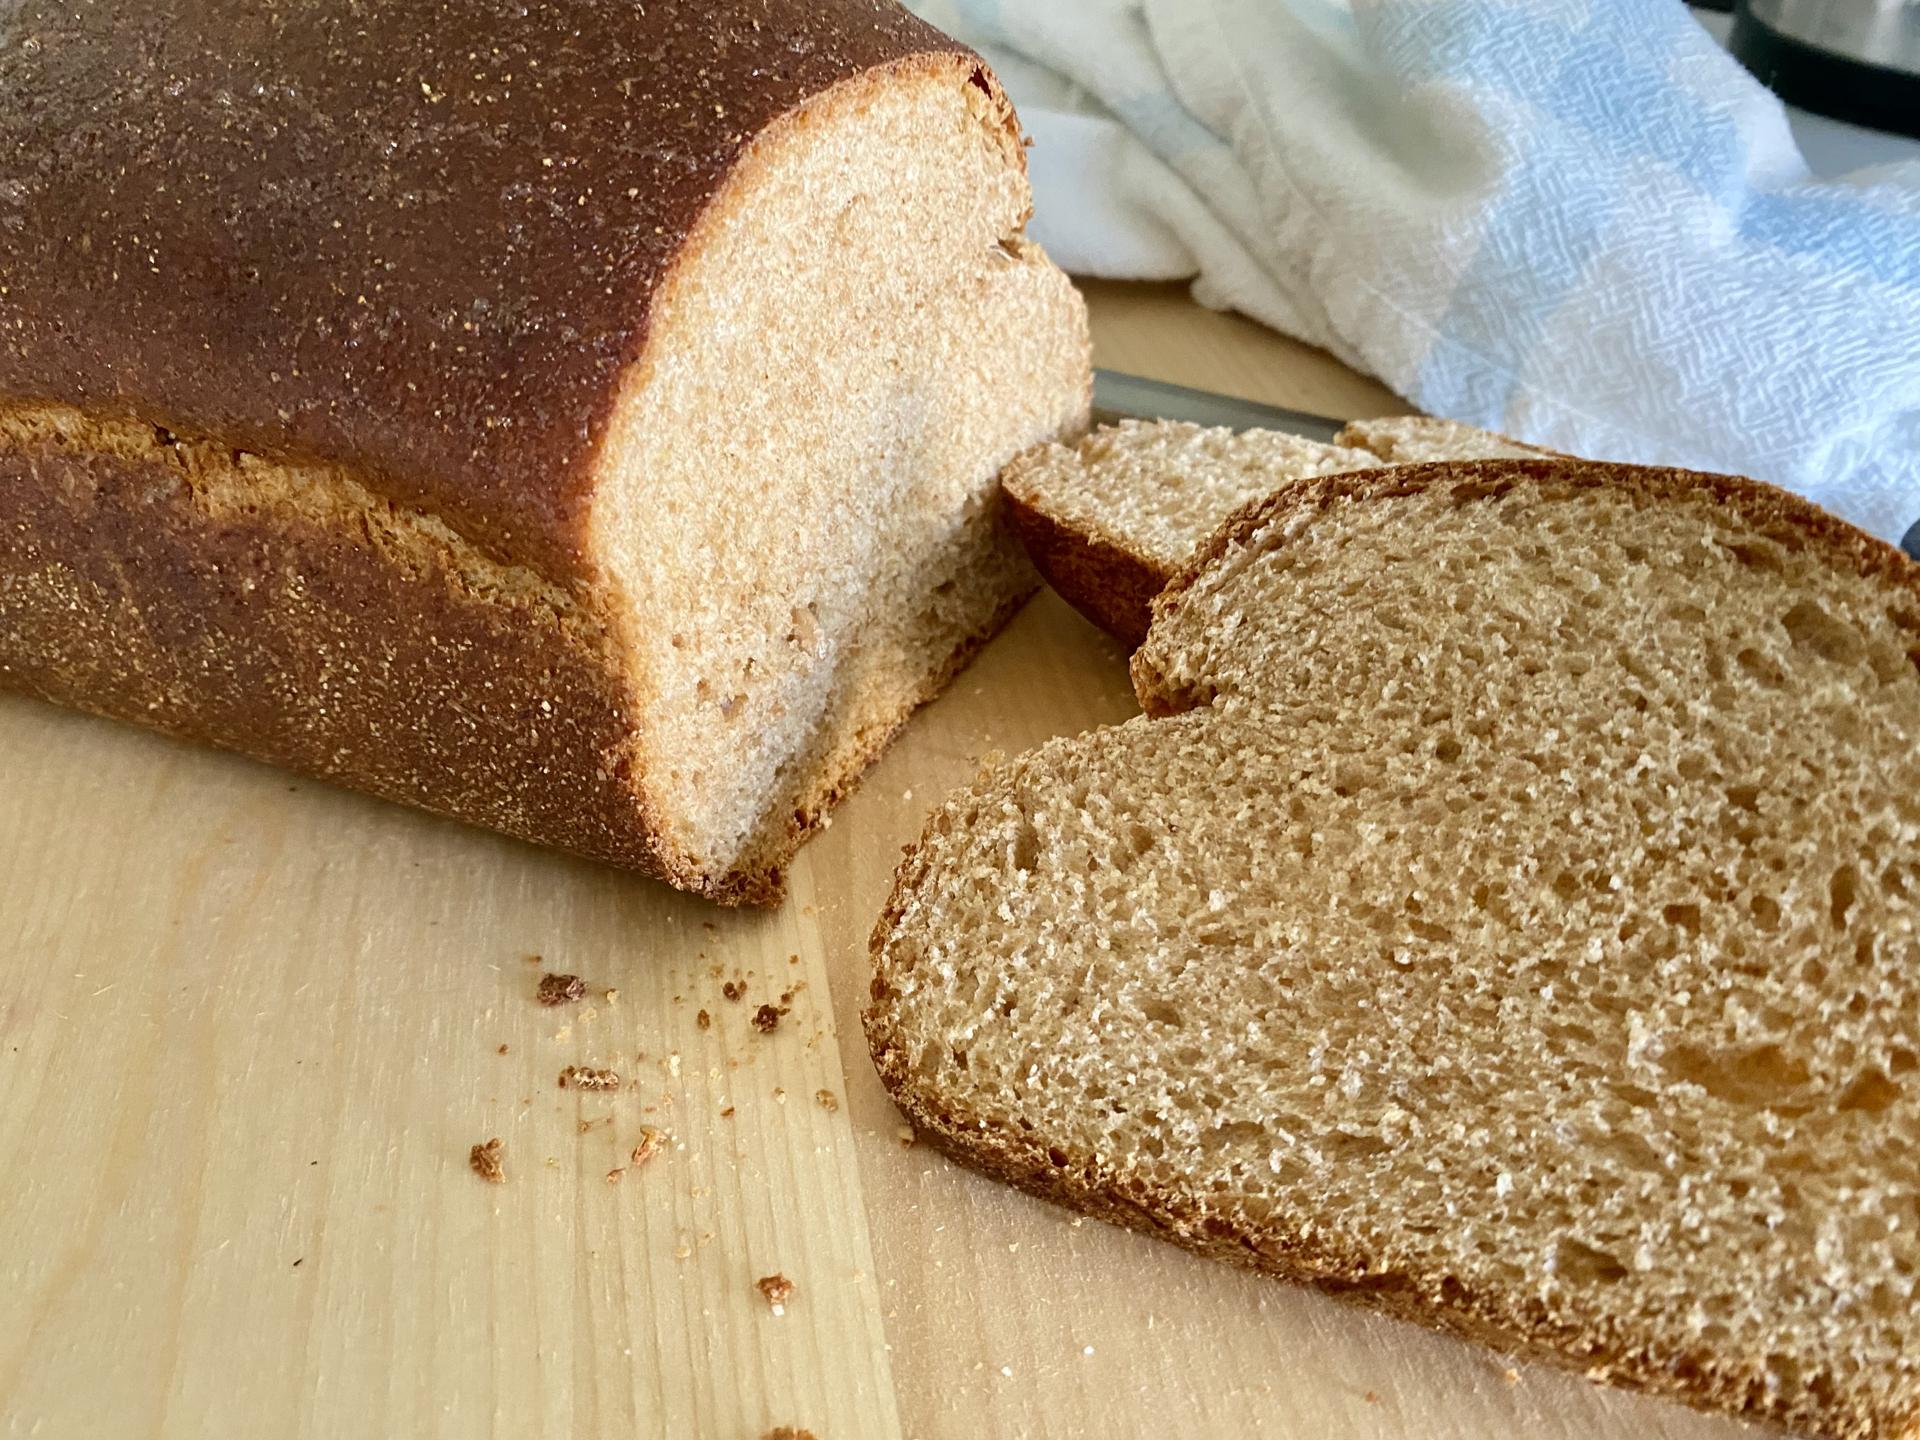
I think this is the absolute most delicious bread recipe! Even though it’s made with freshly-milled flour you would never know because of how soft and fluffy it is. If you’ve been skeptical about making a batch of bread with 100% fresh-milled flour, I highly recommend you give this recipe a try–It will transform your thoughts about freshly-milled bread! It’s also relatively foolproof, and the finished product can be made in advance and frozen until you need it (I recommend slicing the bread before you freeze it so you can easily take out what you need).
Ingredients

This recipe uses only eight basic ingredients you probably already have on hand and one more specialty ingredient that you’ll only need if you’re freshly milling your flour and that you can leave out if you can’t get your hands on it. To make the best bread dough you’ll need flour. As I already stated, I mill my own because of the amazing health benefits, but if you don’t yet mill your own flour, you can use all-purpose flour or bread flour.
You’ll also need salt, yeast, water, an egg, honey, a healthy oil (I use a high quality extra virgin olive oil), and sunflower lecithin. If you’re using store-bought flour, you can leave out the lecithin. If you’re using freshly-milled flour, the lecithin adds a very fluffy delicious texture, but you can also leave it out if you struggle getting your hands on it. If you don’t have any and want to try it you can get it from Azure Standard, Bread Beckers, or from Amazon.
Instructions
While bread dough does take a long time to come together, most of the time is spent waiting. The actual hands-on time is only about 30 minutes.
To start, heat up your water (I think it’s easiest to use an adjustable temperature electric kettle set to about 190–this is the one I have) and, if you’re milling your own flour, get that started milling (you will need to mill about 3 cups of wheat berries–I use 2 cups of hard red and 1 cup of hard white).
While my flour is milling and my water is warming, I start adding all the other ingredients except the yeast to the mixer. Once the water is warm, add that too and mix the ingredients slightly to incorporate (this does not have to be perfect, you just want to get things going).
Next, while your mixer is on a low speed, add about 2 cups of flour.

Once the flour is incorporated add your yeast. Let the yeast incorporate for about 10 seconds and start adding additional flour until you get the desired consistency for your mixer. I usually start by adding an additional cup and a half right away and then start watching closely to see how much of the remaining cup I will need to add.
The desired consistency of the dough will strongly depend on what type of mixer (or kneading method) you’re using. If you’re using a KitchenAid with a dough hook, you want the dough to clean the side of the bowl. Note this does not mean that there can’t be a little dough residue on the side of the bowl; instead, you want the main dough ball that’s around the hook to not be leaving behind residue as it mixes. A little sticking on the very bottom of the bowl as it mixes is fine; you’re mostly looking at the sides of the bowl. The way the dough hook works generally requires more flour so you will likely end up adding all the flour and might need to add even a little more.
I burned my KitchenAid up pretty quickly after starting to make all my bread products from scratch, so I transitioned to this Ankarsrum Mixer–it’s incredible! If you’re using the Ankarsrum, you don’t need to use the dough hook attachment, instead use the roller and scraper–this way can handle a softer dough (softer dough = softer bun). To see if you’ve added enough flour in the Ankarsrum, pull the roller away from the side into the center of the bowl. If the dough immediately follows the roller to the center–leaving the sides of the bowl–your dough has enough flour. If not, just keep adding small amounts of flour until the dough follows the roller into the center. This is usually about 2 cups for me.
A note about flour amounts: remember the amount of flour needed for a recipe is largely dependent on environmental factors including your elevation, climate, season, temperature, humidity, etc. That means the amount of flour that works for me in Arizona might not be the right amount for you in Florida. When baking any yeasted bread product, you just have to learn what to look for in your dough. This can seem intimidating at first, but it’s really not that bad. Just accept that it may be a bit stressful the first few times you do it, but you’ll get the hang of it pretty quick. I’ve never made a bread that was inedible–dense, for sure (that’s pretty close to the worst case)! You may also need a little extra flour if you’re using store-bought flour.
Once you have the appropriate amount of flour you need to knead the dough. If you’re using freshly-milled flour, you can turn your mixer off and let the dough rest for about 15 minutes before kneading to allow the dough to absorb some water, but this is optional. Whether I do this depends almost entirely on how much time I have.
To knead the dough, turn your mixer on a low to medium speed and let it knead for at least 5 minutes. At this point I like to check the dough. While you generally can’t over knead to the point of ruining your dough, the dough will become tougher with more kneading than is necessary.
To see if your dough has been sufficiently kneaded, I stick with the “window pane” test. I get my hands wet and rip off a small piece of dough. I slowly and carefully start stretching the dough into a rough square to see if I can get the middle to become thin enough to see light through it without tarring. If the dough passes the window pane test, you’re all done kneading. If not, turn your mixer back on for a few more minutes until the dough passes.
Generally freshly-milled flour will take longer to knead than store-bought flour, though the kneading time will be significantly reduced if you let the dough rest for 15 minutes before kneading the dough as discussed above.
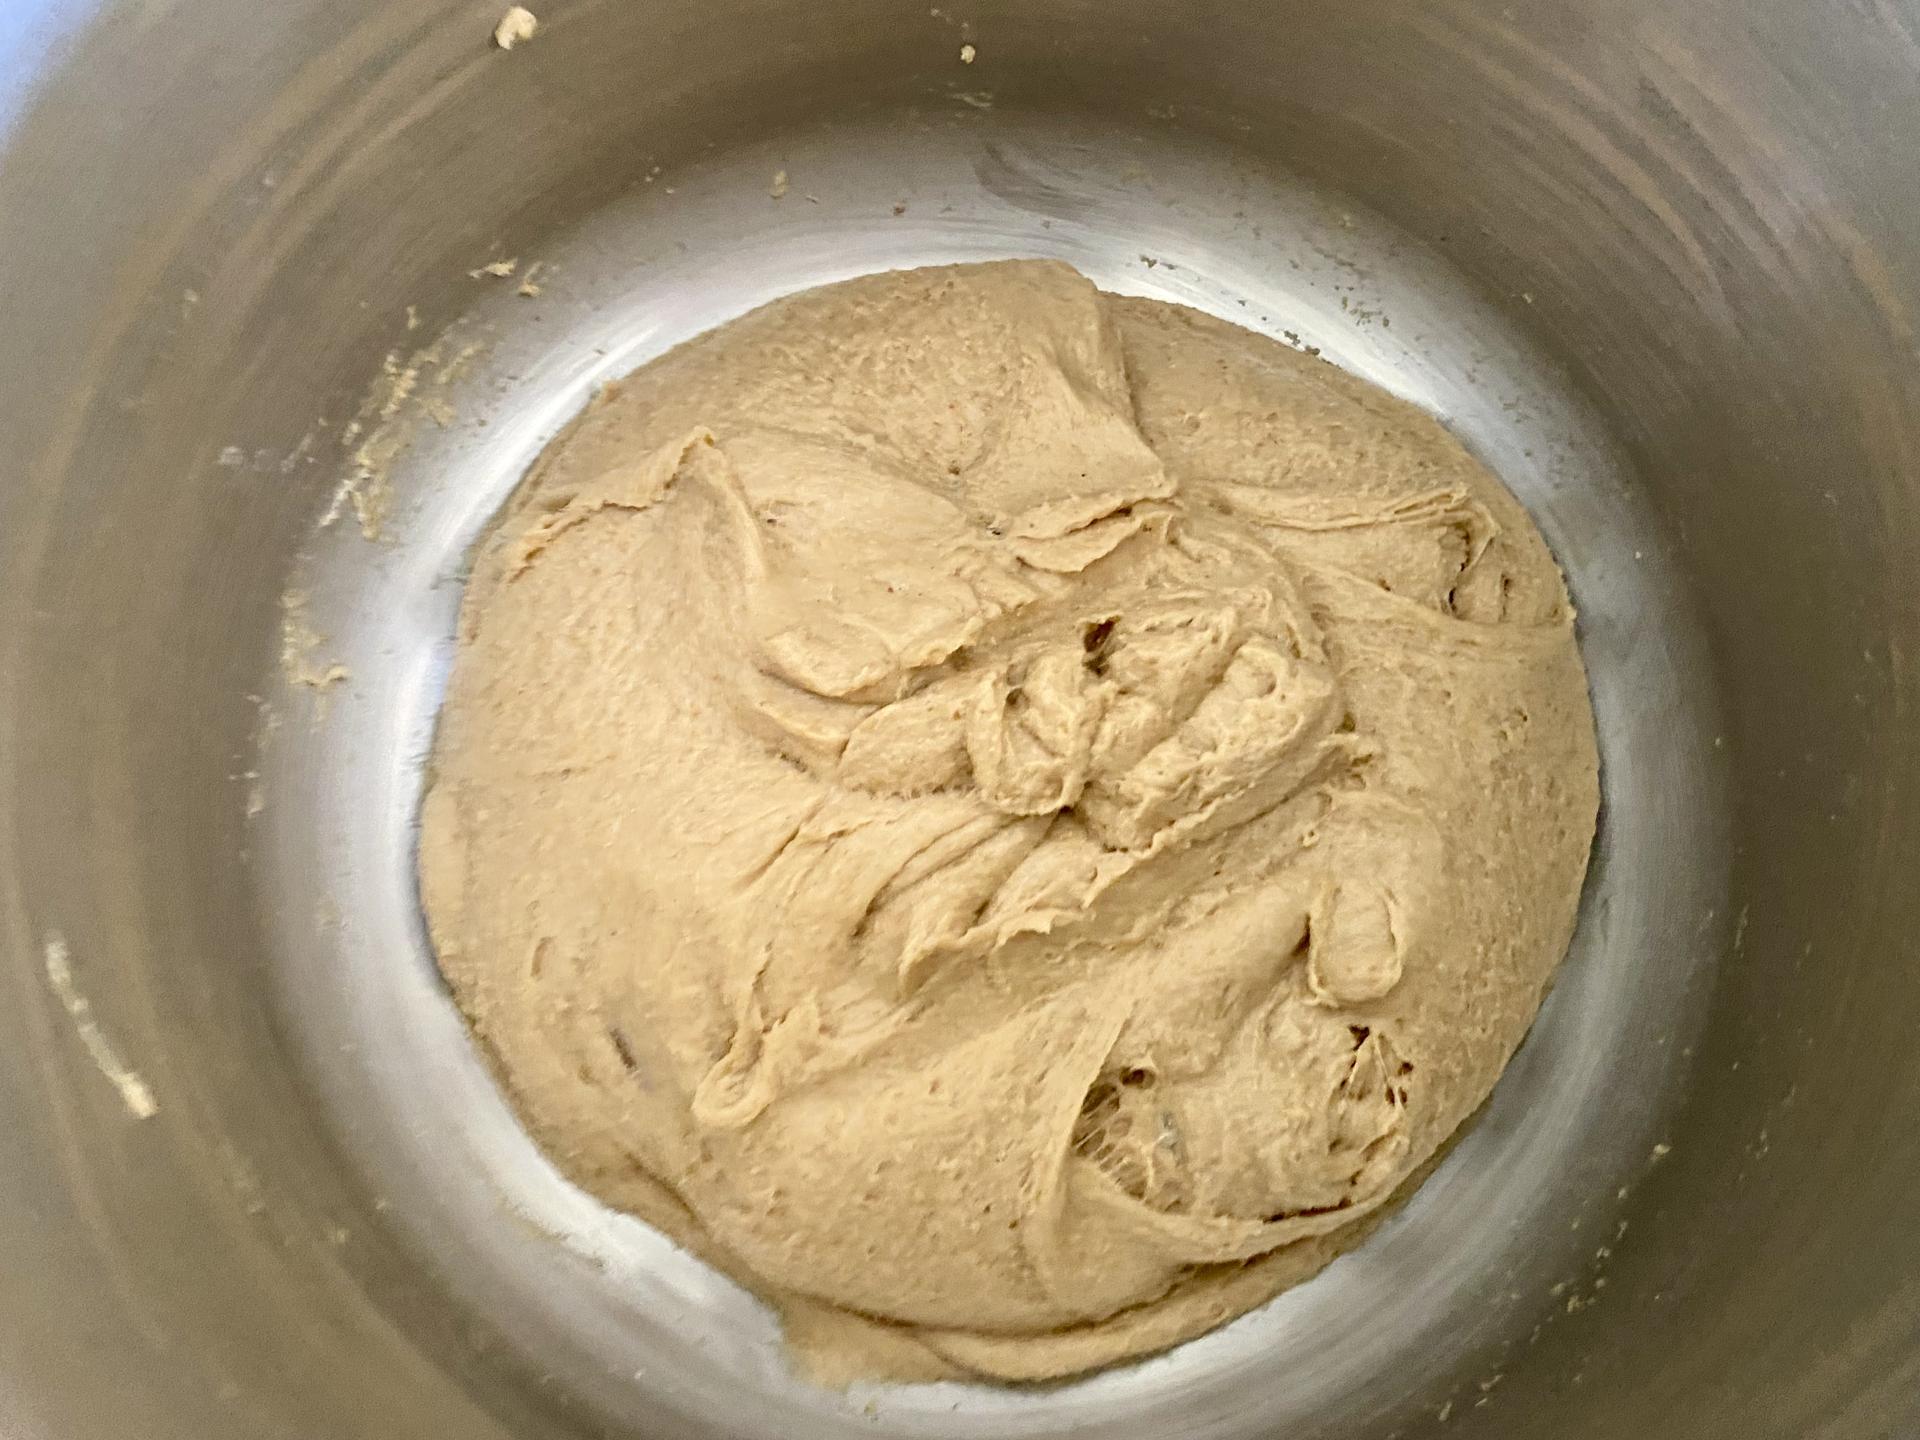
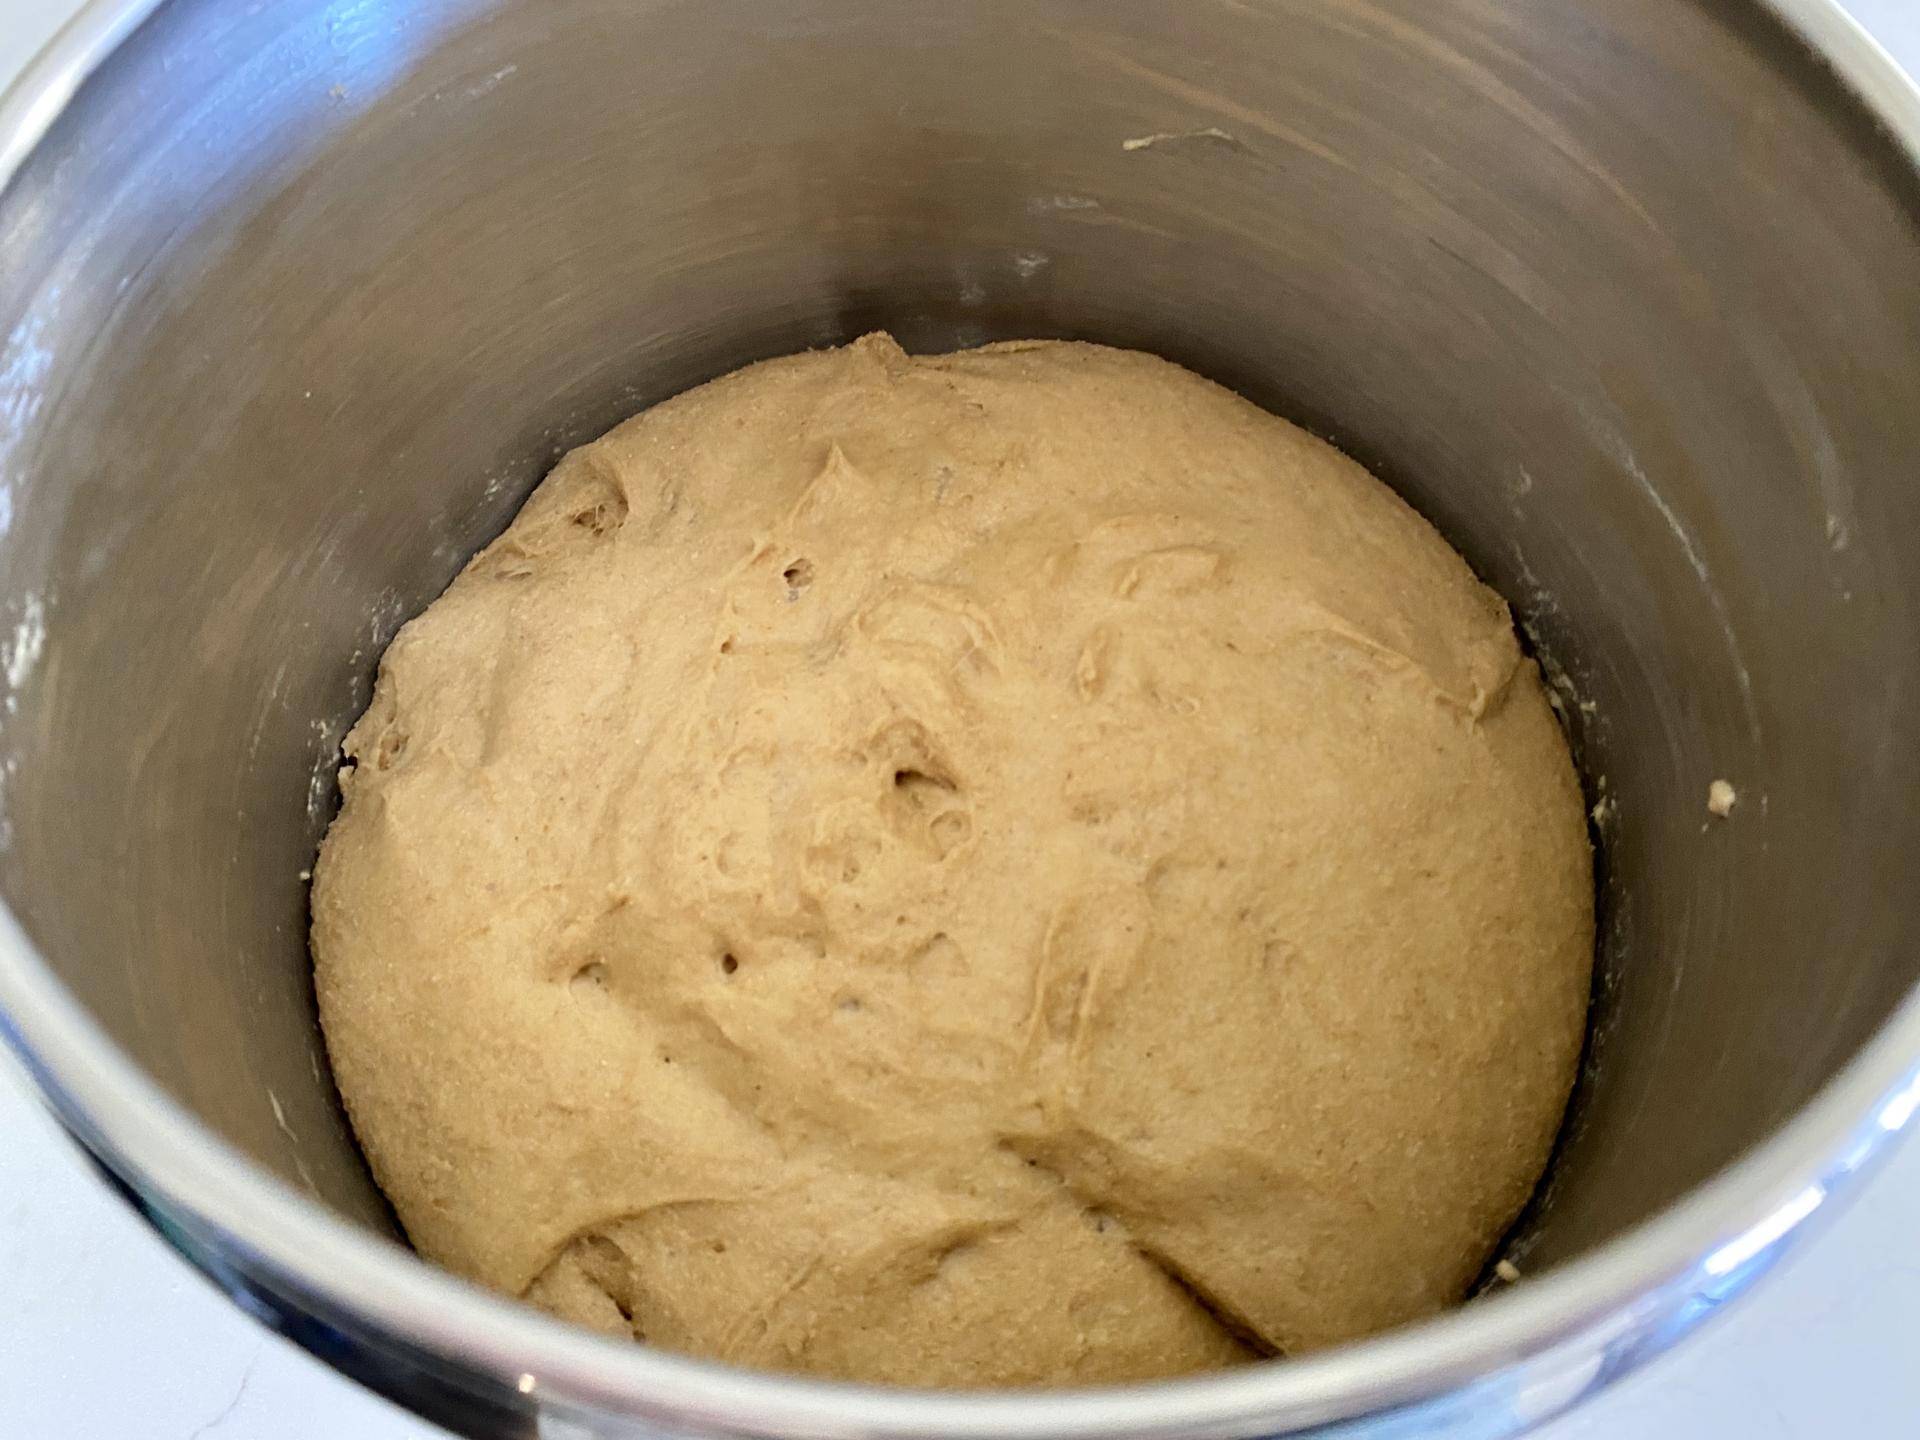
Once the dough is kneaded, gather the dough off of your mixer attachments and the side of the mixer bowl and form a ball. Place the dough ball back in your mixer bowl or in a different bowl, coat lightly with oil (optional), and cover with a lid or a kitchen towel to rise for about one and a half hours or until the dough has doubled in size.
After the initial prove, it’s time to shape your dough. To make sandwich bread take about half of your dough on a lightly floured or oiled surface and gently start pressing into it like you’re trying to flatten it into a square. Then pull the top of the dough into the center, then the bottom, like you’re folding a piece of paper into thirds. Then flip the dough the opposite direction, grab the top piece of dough, fold it over about two inches, and press into the rest of the dough to create a seam. Repeat this until you have pressed all the dough together and you have a log shape.
Then use your hand to gently push the dough towards you on the counter. This creates tension at the top of the loaf which will cause the bread to have that beautiful round shape. A full recipe of dough will make two 8-inch loafs.
Here is a video of how I shape sandwich bread:
Once your dough is shaped, cover it with plastic wrap or a kitchen towel and let it rise for a second time. The second rise generally takes about an hour. You want the dough to look puffy and generally be about 1.5x bigger.
After about an hour, preheat your oven to 350. While your oven is preheating, you can coat your dough with an egg wash if you want it to be extra shiny or if you need a “glue” to hold on a topping like poppy seeds or “everything but the bagel” seasoning.
To make the egg wash, whisk together 1 tablespoon of water with one egg yoke. Use a pastry brush or your fingers to spread a thin layer of the wash over the top of your dough. While the egg wash is still wet, you can add garlic granules, poppy seeds, or sesame seeds to the top of your dough if you would like.
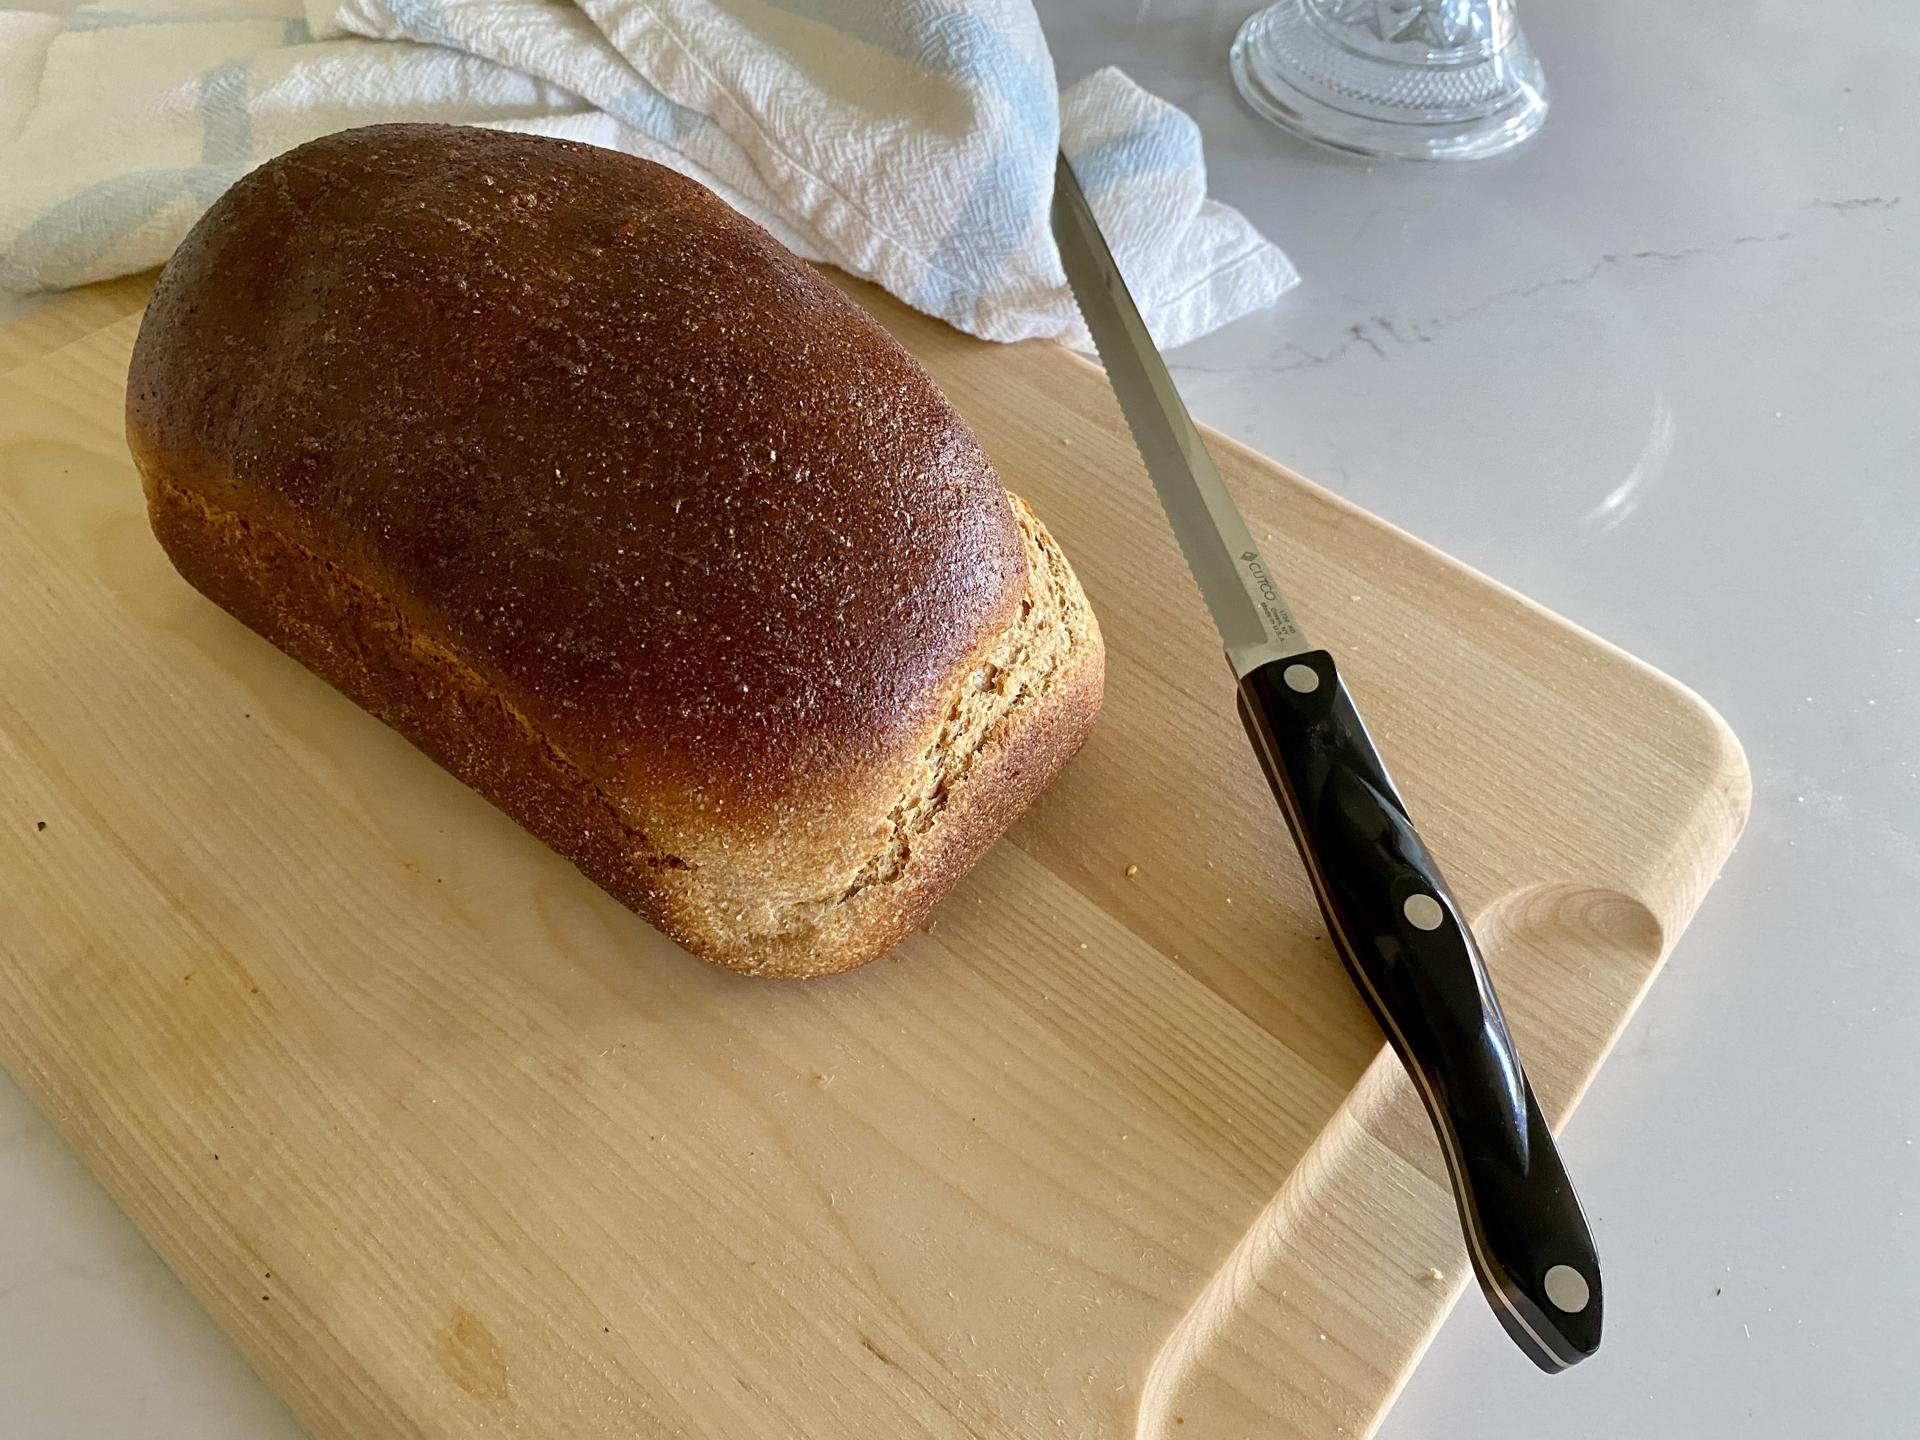
Bake your dough until the internal temperature is about 190. This will generally take about 35 minutes. After the bread has cooled, serve and enjoy!
Notes
- You can store your bread on the counter for up to 3 days. Store them on a cake plate with a lid, on a tray with a bowl overing the bread, or wrapped in a kitchen towel and tucked in a bread box.
- You can also freeze it for up to three months.
Love,
this Mama
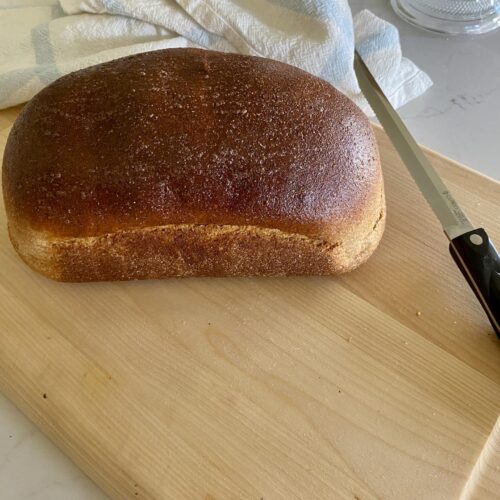
Homemade Seed-Oil Free Sandwich Bread
Ingredients
- 4-5 cups flour If freshly milled, mill ~3 cups of hard red, or hard wheat berries
- 1½ cups hot water
- ⅓ cup healthy oil I use extra virgin olive oil
- ⅓ cup honey
- 2 tsps salt
- 1 tbsp instant yeast
- 2 tbsp sunflower lecithin optional
- 1 egg
Instructions
- Combine hot water, egg, salt, honey, oil, and lecithin in mixer.1½ cups hot water, ⅓ cup healthy oil, ⅓ cup honey, 2 tsps salt, 2 tbsp sunflower lecithin, 1 egg
- Mix in 2 cups of flour until fully incorporated.4-5 cups flour
- Mix in yeast until fully incorporated.1 tbsp instant yeast
- Add in 2 additional cups of flour, and begin checking your dough and gradually adding more flour until your dough is the appropriate texture (see instructions above for more details).4-5 cups flour
- (Optional) If using freshly milled flour, at this point you can let the dough rest for 15 minutes before kneading.
- Knead the dough on a low to medium speed for 5-15 minutes—until it passes the "window pane" test (see instructions above for more details).
- Place your kneaded dough ball in a lightly oiled bowl, and cover with a damp towel to prove until doubled in size, about an hour and a half.
- Once your dough has doubled, pour it onto a lightly floured surface, and divide in half.
- Shape each half into a bread loaf (see instructions above for more details).
- Place each into 9"x5" bread pan (if your bread pan isn't non-stick, line with parchment paper or spray with cooking spray).
- Let the loaves rise until puffy, and about 1½ times bigger (about an hour).
- Preheat oven to 350°.
- (Optional) Make an egg wash with 1 egg white, and 1 tablespoon of water whisked together. Lightly spread over the tops of the loaves. Sprinkle sesame seeds or poppy seeds on top.
- Bake for 35-45 minutes, or until the internal temperature of each loaf is about 190°.
Leave a Reply